4 MIN READ
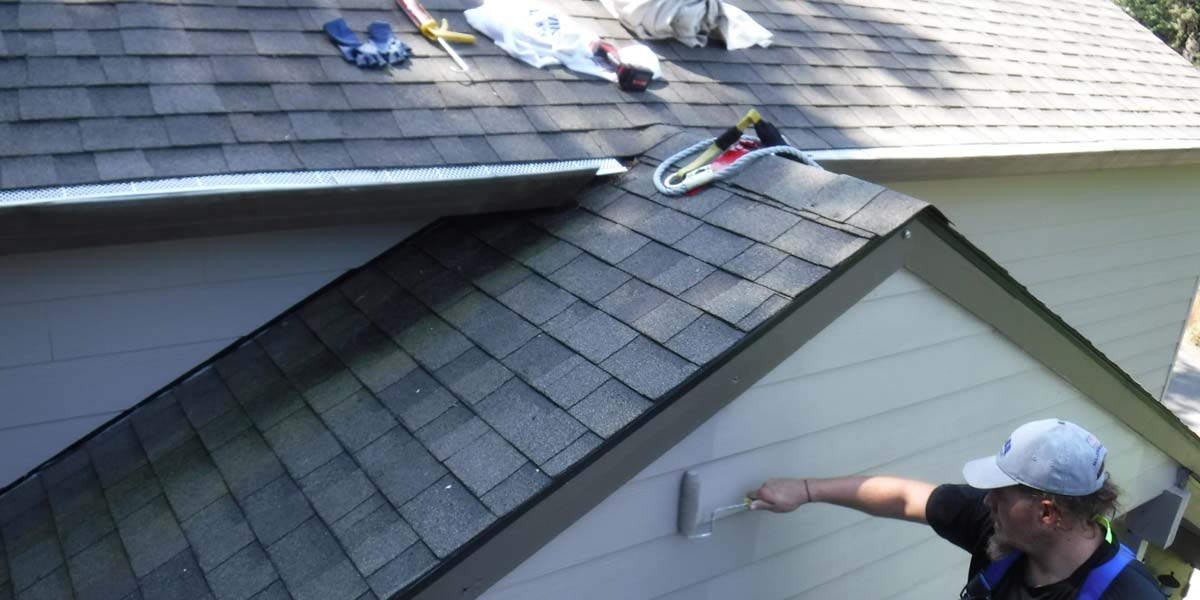
The Correct Prep Work Provides Clean Paint Lines
Painting a straight line can feel like a difficult task! But don’t fret … with a few easy techniques and a bit of practice, you will soon be cutting straight lines like a pro. SFW Painting is your go-to resource for painting tips and professional painting. We’ve painted homes throughout the Pacific Northwest and can provide the painting support you need—whether it’s DIY painting advice or full-scale home painting.
But it all starts with a free consultation. Contact us today!
The Right Tools To Paint Straight Lines
To begin any project, you need the right tools to help you complete the job. Without the right tools, you set yourself up for failure—so when attempting to paint a straight line, take the time to get the equipment you need to begin on solid footing.
Paint
Beginning with painting is best accomplished with good, quality fresh paint which is adequately mixed. Old, clumpy paint will inevitably lead to problems and not-so-straight lines. So, first things first, invest in new professional paint.
Angled Trim Brush
To paint straight lines, you need an angular brush, preferably a 2- to 3-inch angled trim brush—one made specifically for the job at hand. Don’t settle for a large and unruly brush or a used one with frayed bristles or a rounded tip. None of these kinds of brushes will work well to paint straight lines. Bolster yourself with quality gear for a quality job!
Painter’s Tape
While it is entirely possible to paint a straight line without painter’s tape, having painter’s tape on hand is essential as it is a sure-fire method to use if you need it. Blue painter’s tape is the industry standard for most residential paintings. However, green tape works best if you paint on a rough surface. (More on painting tape techniques later.)
Paint Edger
A paint edger is a professional painting tool that works well to paint straight lines, including 90-degree angles. Most paint edgers are square or rectangular, applying paint in cohesive blocks and lines.
Small Paint Container
If you are painting straight lines between walls and ceilings and using a ladder, it can be beneficial to have a small auxiliary paint container to work from so you don’t have to climb repeatedly up and down the ladder.
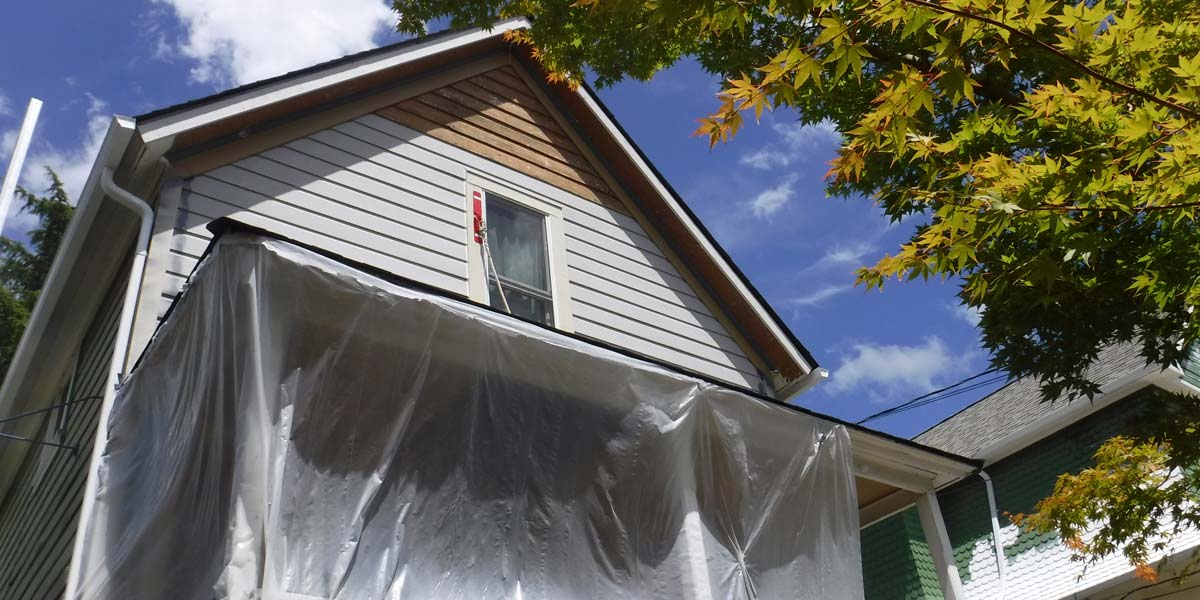
Prep Work For Straight Lines
You can make a few additional preparations to ensure success at accomplishing clean paint lines.
Make the Surface Smooth
If there are cracks or any peeling on the existing paint, or if the surface is not flat, first scrap and sand it down to an even and level playing field. (Of course, if this is the case, you will also need a paint scraper and sandpaper.)
Clean the Surface
To effect the ultimate quality paint job, you want to clean the surfaces to be painted—because painting over dust or grim will not enable the new paint to adhere optimally to the surface. So, before painting, clean the wall or other surface with warm, sudsy water and let it dry.
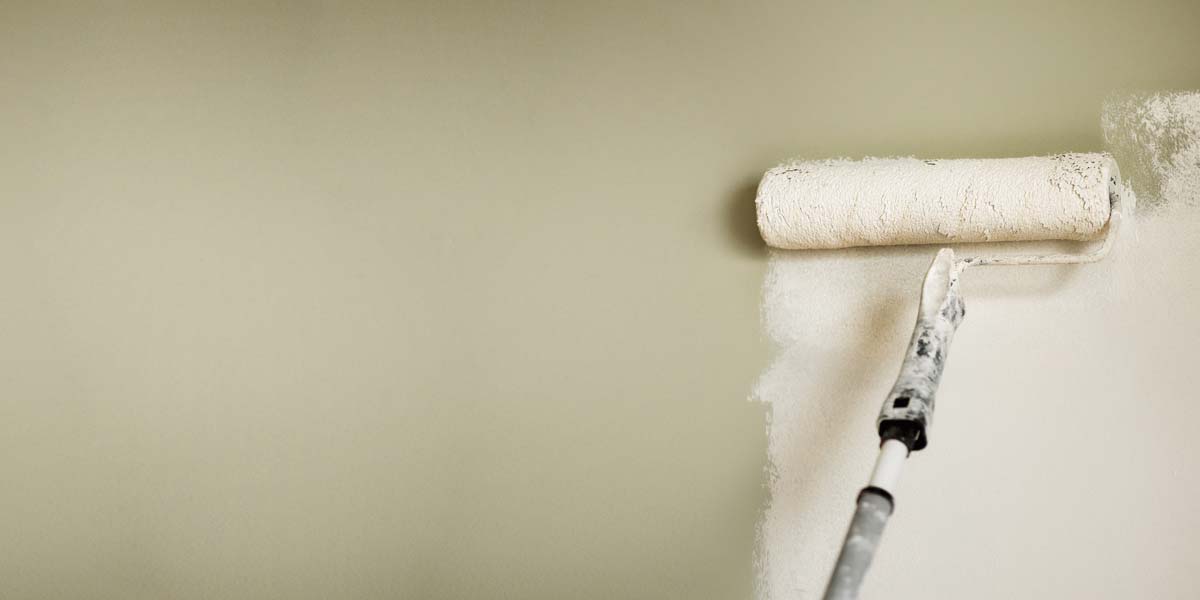
Proper Paint Technique For Straight Lines
Now that you’ve laid the groundwork that will support your efforts, it’s time to get down to brass tacks and look at exactly how you will learn to paint a straight line. The primary technique for painting a straight line is using painter’s tape.
Painter’s Tape as Technique For Straight Lines
- Measure the length of the line you want to paint with a tape measure and mark the endpoints
- Apply the painter’s tape from point A to point B firmly and smoothly, without ruffles or bends
- Seal the tape by painting lengthwise (with the base wall color) along the wall on the side of the tape that you intend to paint, and let it dry. While this may sound counter-intuitive, it firmly fixes the painter’s tape to the wall. (Only cover about half of the width of the painter’s tape, leaving the other half unpainted.) If painting a textured surface, apply a bead of clear caulk along the edge of the side of the painter’s tape to be painted, then wipe smooth with a damp rag. By doing this, it will seal the tape for a clean line. Paint promptly without allowing the caulk seal to dry
- Paint the wall with the angled brush with your new paint color. Peel off the tape while the paint is still wet.
Freehand Technique to Paint Straight Lines
Grasp the paintbrush by making the letter C with your hand. Your fingers should be upon the metal ferrule and your thumb on the handle. Apply a modicum of paint to the brush and press the loaded brush upon the wall about ¾ to ½ an inch below the line you want to make, allowing ample color to collect beneath the line. Push the brush diligently along the line with the tapered tip of the brush. At first, the line may be streaky, but load up with the paint collected beneath the line and swipe slowly back and forth until you have a solid line. You can also use this technique to paint around a window or other junctures, such as where two walls meet, or the wall meets the ceiling. If the line you have painted is not perfectly straight, resort to the painter’s tape. Even professionals do!
Contact SFW Painting today for a free painting consultation on your professional home painting project!
About SFW Painting
Painting is one of the many projects SFW Painting can help you with. We are experts at painting and understand the importance of using the right tools when painting your home. If you are having trouble painting straight lines or need the exterior of your house painted Contact SFW Painting. We use only the highest quality paints and materials available.